In This Topic
Universal Cabinets do not have drawers by default. The process of creating inset doors and drawers are the same across all Universal cabinets.
Applying Drawers
To apply drawers to cabinet you will need to ...
Step 1 Area Content
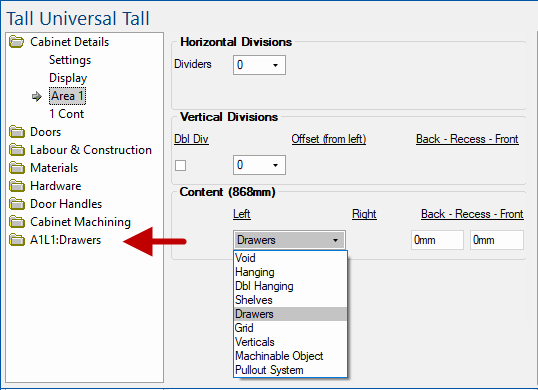
On the Cabinet Details > Area 1 page, set the Content of section Left to Drawers from .
- Note that an extra Drawers category is made available.
Step 2 Remove Doors
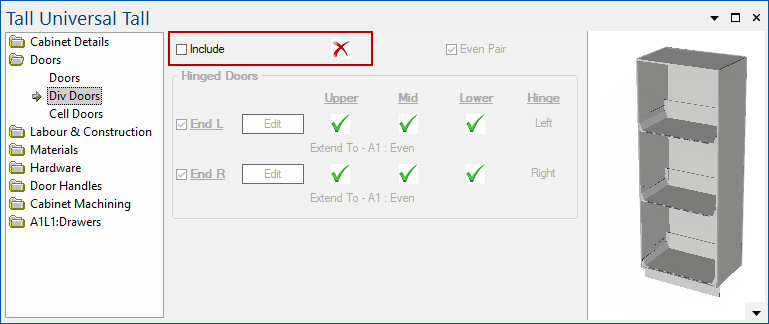
On the Doors > Div Doors page, turn off the 'Include' option. (Optional)
- This will remove the doors and allow you to see the drawers inside the cabinet.
Step 3 Enable Drawer Fronts
On the Drawers > Fronts page, enable Include & Height which turns on the drawer fronts, as shown in the preview pane.
- The details shown concerning Gaps will be used in the following steps to inset drawers.
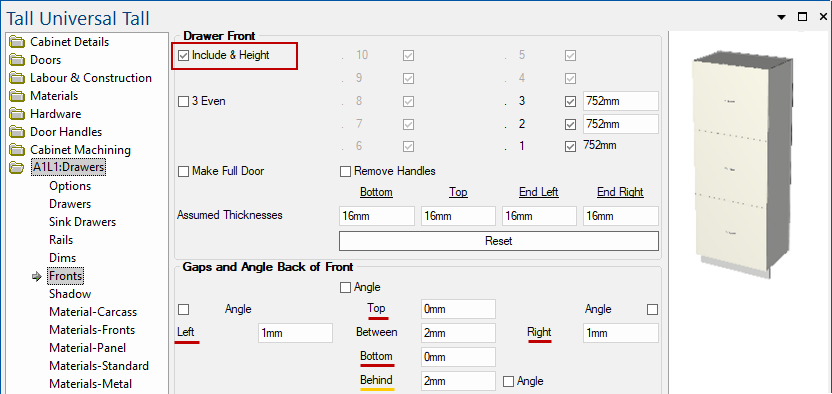
Drawers > Fronts page - Click to Expand
Inset Drawers
Step 4 Drawer Front Gaps
On the Drawers > Fronts page :-
- The Gap values for the Left, Right, Top and Bottom need to be amended to take into consideration the material Carcass thickness.
- For this example, add material thickness of 16mm to each of the values underlined in red in the image above.
Material Thickness from Materials > Carcass page
Material Thickness is 16mm in this example.
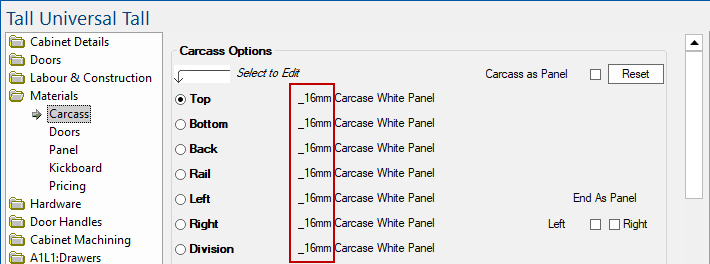
- The new Gap values are as shown i.e. Left/Right = 1mm + 16mm (17mm) and Top/Bottom = 0mm + 16mm (16mm).
- The Behind value will be used in Step 5.

Step 5 Recess Front
On the Cabinet Details > Area 1 page, the Front Recess needs to be amended to take into consideration the material Fronts thickness.
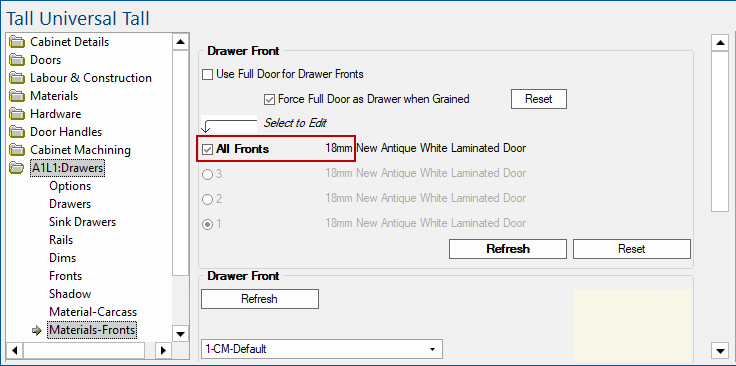
Material Thickness from Drawers > Materials-Fronts page
Material Thickness is 18mm in this example.
- set the Recess Front value to the material Fronts thickness (18mm) plus the Behind value shown above (2mm).
Result
The drawers will now be inset.

See Also

